HMH Mixer
This is an educational project I made to get a better understanding on mixing sound.
You can use this file with Max (Download Here). You can use the trial version and after the trial ends you can still run the patch but you cannot make modifications to it.
Mixing is all about hearing but it’s always ok to get a little help from the eyes; that’s the place of spectrum analyzers. When mixing two sounds we have to be careful on how they interact with each other in frequency domain. A bad mix may have moments in which certain frequencies get to loud or where one sound shadows the presence of other.
Being capable of detecting (and fixing) those problems of a mix requires training and talent. Since I don’t have to much training yet (lets not talk about the talent) I made this program to help me hear. The HMH (Help-Me-Hear) Mixer provides features that can help you in times of doubt.
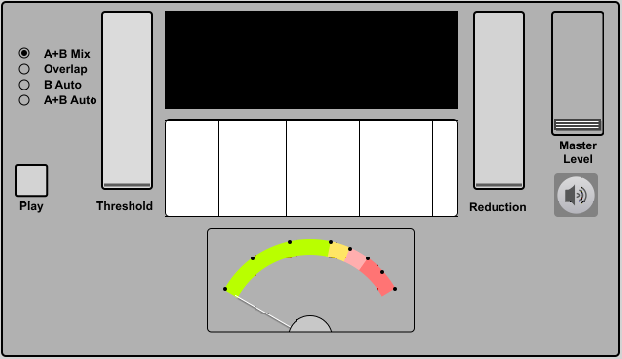
This is a screenshot of the interface:
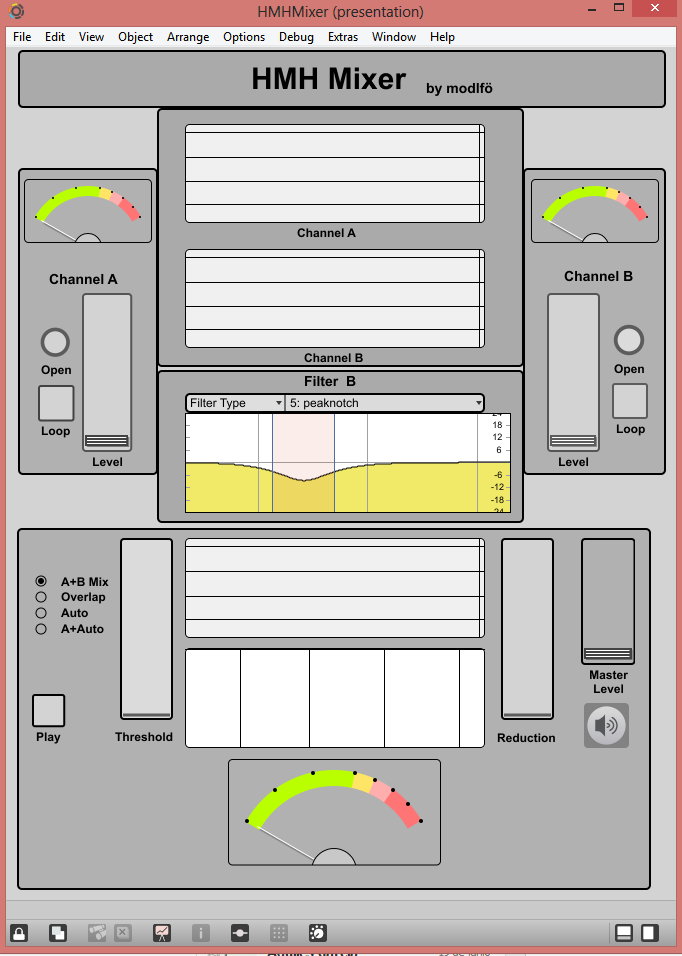
HMH Mixer
The HMH Mixer was inspired by the youtube tutorial of dude837: Pfft~ is your friend where he explains the use of the pfft~ object in Max.
The program has can load two audio files (A and B). Use the “Open” button to load your files, and select “Loop” if you want your files to repeat when they end. With the level you can control the volume.
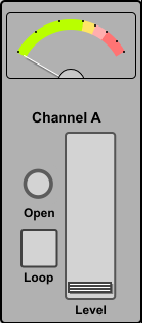
Channels
When playing the files you can see a spectrogram of both files where the “x” axis is the frequency and “y” is the time.
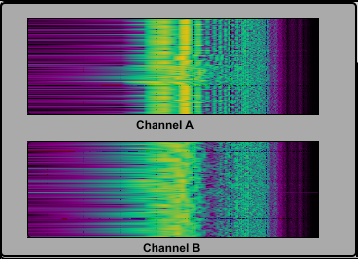
Scpectrum view
Below the spectograms we have a filter that is applied to channel B only. Later I will explain the purpose of this filter.
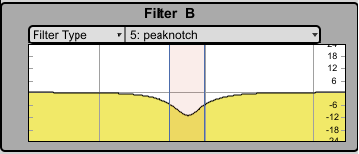
Filter
At the bottom we have the master section where we can start reproducing the sounds and see the spectrogram of the mixed signals.
Master Mixer
The master signal has 4 different play modes:
A+B Mix
This mode mixes the A and B sounds. What you hear is simply the sum of the sounds.
Overlap
In this mode the magic starts happening. This mode is controlled by the “Threshold” slider. Set it as low as possible and increase it gradually. As you increase it you will hear only the frequencies that the two sounds have in common. The first frequencies that are heard are the ones that once overlapped are above the threshold. These frequencies are the ones that overlap and have a high volume. If you play a kick drum and a bass, you will hear how they interfere specially in the low end. This is what we have to prevent when mixing.
Using the spectrogram we can determine if there are specific moments in which the overlap is higher.
B Auto
This mode uses the amplitude of the frequencies that overlap and applies a reduction (filtering) of the signal B. This acts as a frequency compressor. The reduction is controlled by the “Reduction” slider, the higher it is the more that the overlapped frequencies are taken from the B signal.
This is interesting because you can hear how the signal B need to filtered in order to reduce the overlapped frequencies.
A+B Auto
In this mode you can hear the signal of “B Auto” mixed with the channel A. This would be a kind of “very good blend” of the two sounds. The xix is not perfect, but listening to this will give you an idea of how it should sound if the common frequencies do not affect too much.
As I mentioned before, you can achieve this results by using a side-chained frequency compressor. But I think that those kind of plugins would consume a lot of processing power in a DAW (correct me if I’m wrong). I would like to fix the mix problem by using the tools that are already available in my DAW, that are basically compressors and equalizers. That’s the purpose of the Filter in the B channel. I play with the filter in order to reduce the offending frequencies in channel B and reduce the overlapping. So once I have a decent sound using only the filter, I copy the setting of the filter to my DAW.
Feel free to play with the program and let me know if you have any suggestions.