My CNC/3D printer
Some time ago I was helping my fiance’s family cleaning the basement and in there we found a box with many electric and mechanic components that belonged to her dad.
Within the stuff there were some step motors of different kinds. Three of them were Nema 23 motors, I tested them and they were working correctly. I thought it would be nice doing something with them; the obvious thing was to make a CNC milling or 3D printer.
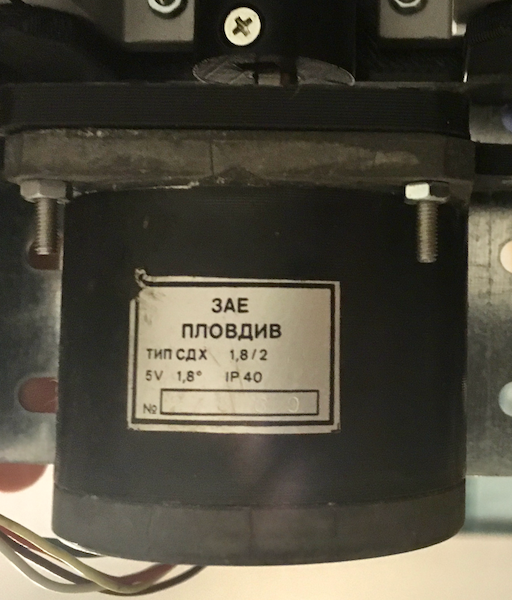
Step Motors
I have assembled a few 3D printers before, one Huxley, one Mendel, and Printrbot Maker. The only printer I have now is the Printrbot Metal, which I upgraded from the “Maker” version. All these printers have their strong and weak sides. But they are not good to attach a drill and make a milling machine.
For this new CNC I wanted to have something robust and cheap. To get it cheap, try to use as many parts as I could find in my local hardware store and buy the remaining parts from china.
For the electronics, I got from china a package that contained an Arduino Mega + Ramps 1.4 + drivers (all of them clones). This is the typical kit for assembling a regular 3D printer.
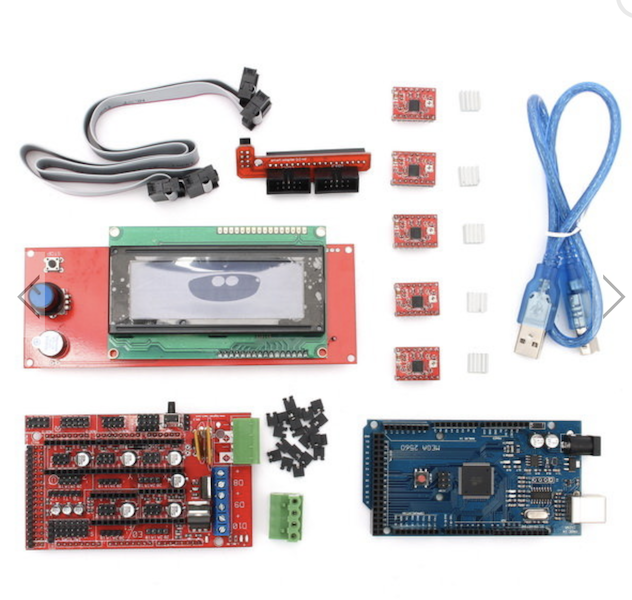
Step Motors
After assembling I needed to check that the Marlin firmware worked correctly. I made a few modifications to the configuration and I got it working. Here’s my repository of the code: Marlin Firmware.
After a few visits to the hardware store and checking which product they had I got a good mental model on how the CNC could look.
Once I collected all the parts I started designing the model in Fusion 360. I have done a few 3D models in Fusion 360 but nothing containing as many parts as this.
The idea is simple, make three similar axis and assemble them in any configuration.
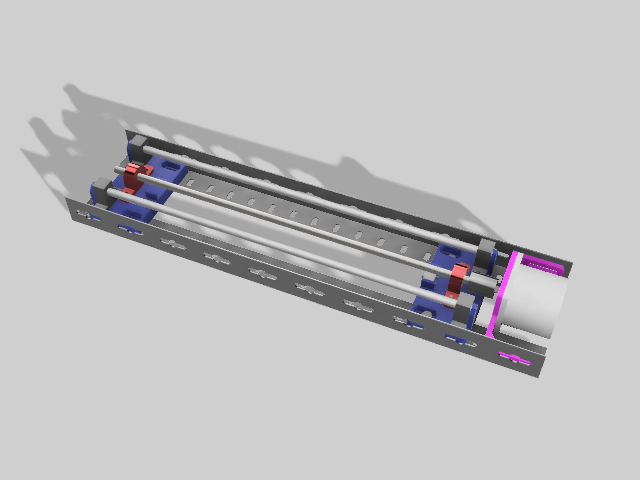
Model of the axis
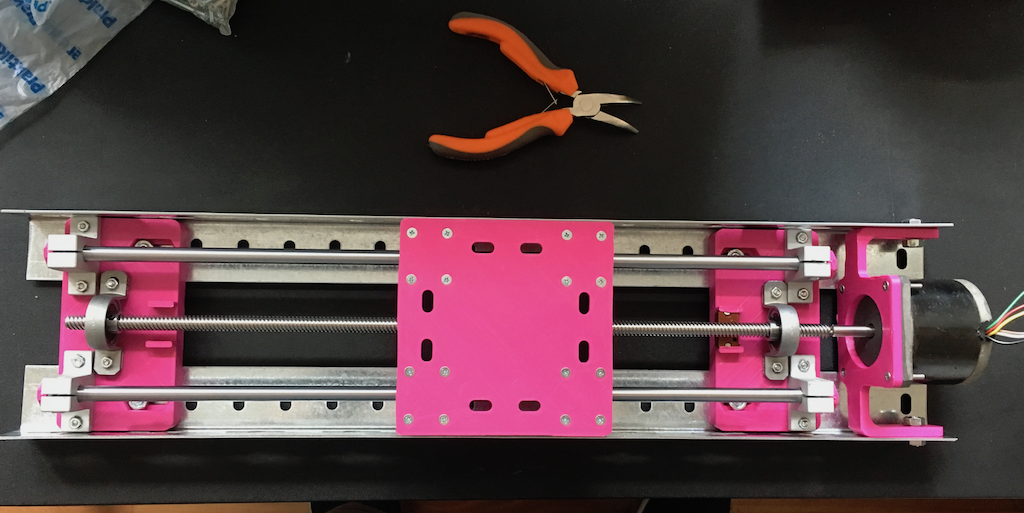
Final axis
The rails are from a manufacturer called Alfer which I found in the hardware store. The layout of these rails is very convenient and I designed all the 3D printed parts following a template that is compatible with them. If all the parts are compatible, it is very easy to assemble them in multiple configurations.
This is the first prototype I designed:
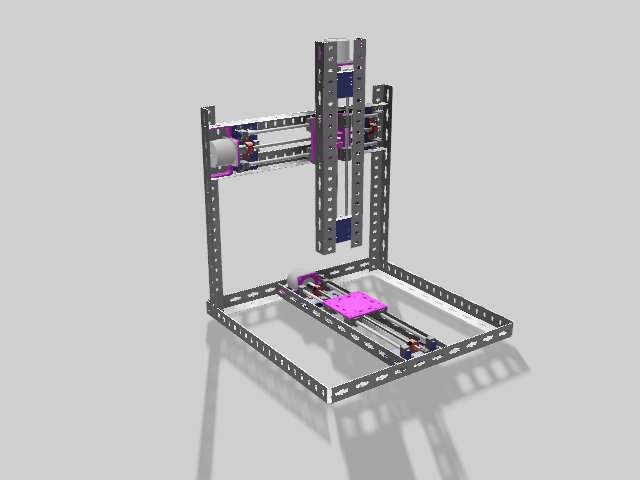
CNC first prototype
Here you can see a video of the initial test I made:
At this point there are a few parts missing. For example the attachment to mount the drill or the 3D printer head. Right now I don’t have access to a 3D printer to print the last parts. But I used a few cable ties to attach the extruder to the axis and I got myself a 3D printer.